


Disclosure: Some of the links below are affiliate links, which means, at no additional cost to you, I’ll earn a commission if you click through and make a purchase.
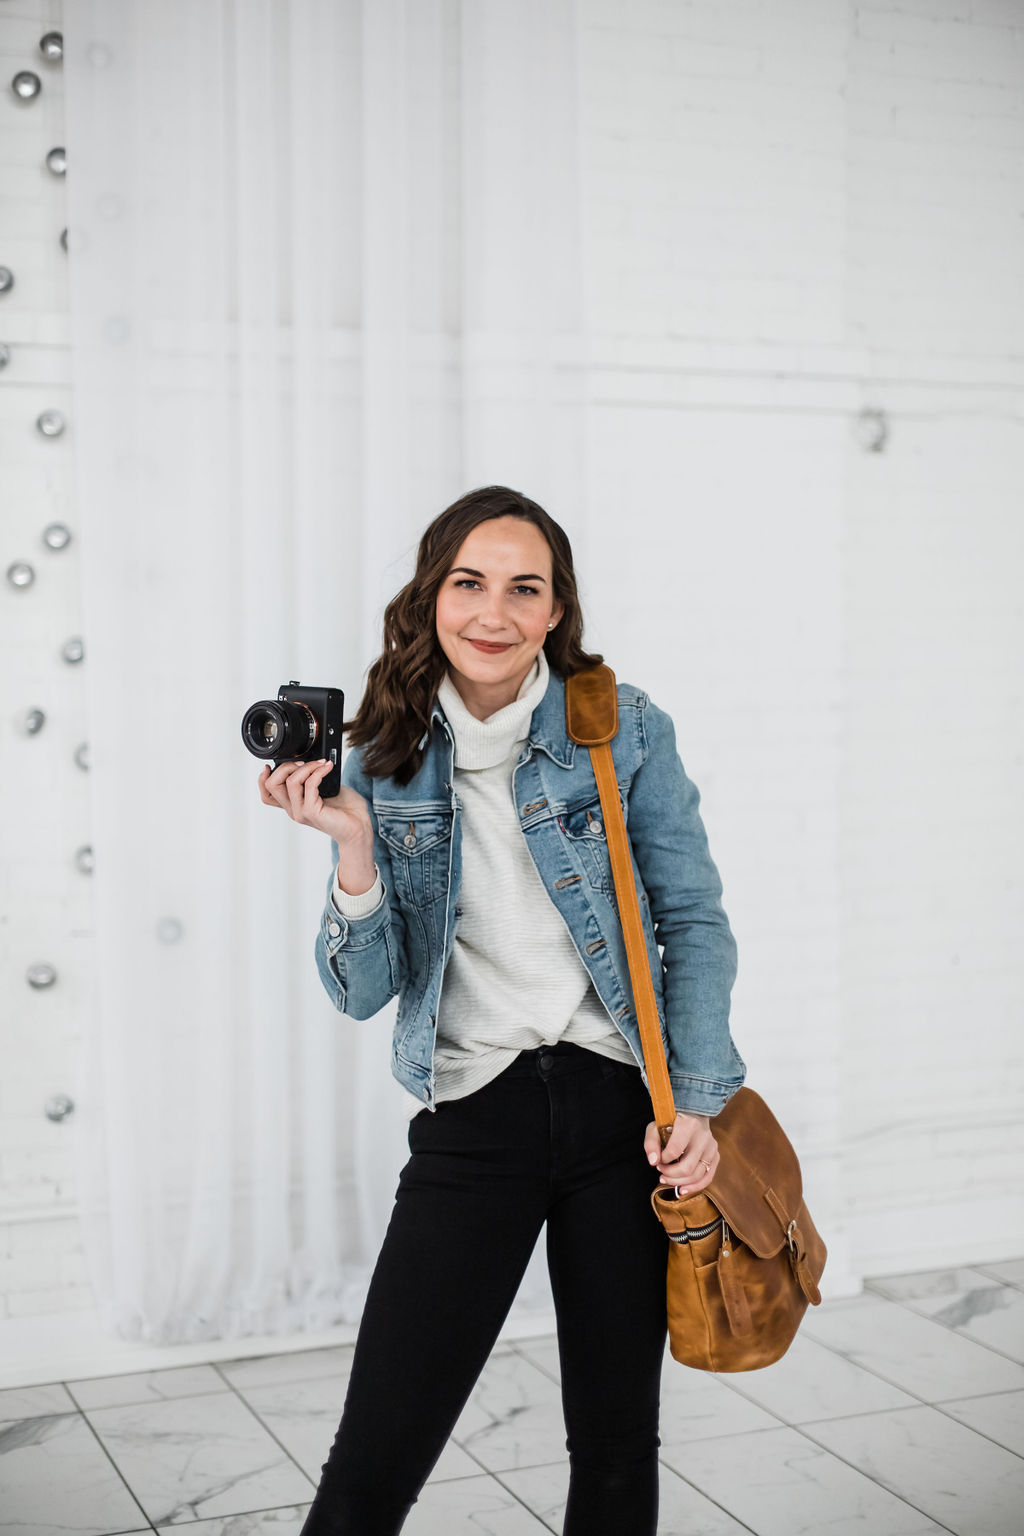
One of the most common questions I get asked as a photographer is, “What’s in your bag?” As photographers, it can be so hard to decide what type of gear to invest in. When I was first starting out, I remember pouring hours and hours into researching different types of cameras, lenses, and flashes, trying to figure out what would work best for me!
It’s taken some trial and error, but I’ve slowly narrowed it down to the essentials that I can carry in and out of any on-site photoshoot in one trip (without looking like a crazy person)!
Whether you’re a small business owner or professional photographer, I’m breaking down ALL the photography gear I use in this blog post.
For Phone Photography + Reels
There are so many ways to improve your brand photography without investing in a high-end camera! I use all of these tools to film reels and create social media content straight from my phone.
Basic TriPod: This is a super lightweight and affordable tripod that I use to film my reels.
Phone Attachment for Tripod: I use this attachment to mount my phone on my tripod – I love that you can film in vertical or horizontal format!
Ring Light: I typically shoot my reels with natural lighting, facing a bright window in my house. But I’ll grab this ring light when I’m doing things like video trainings, Zoom meetings, or batching reels on a cloudy day.
The Clean Branding Mobile Preset Collection: I designed the Clean Branding Preset Collection to empower small business owners to create brand-building content from their phones. You can take and edit professional looking photos in my editing style – straight from your phone!
Cameras and Lenses
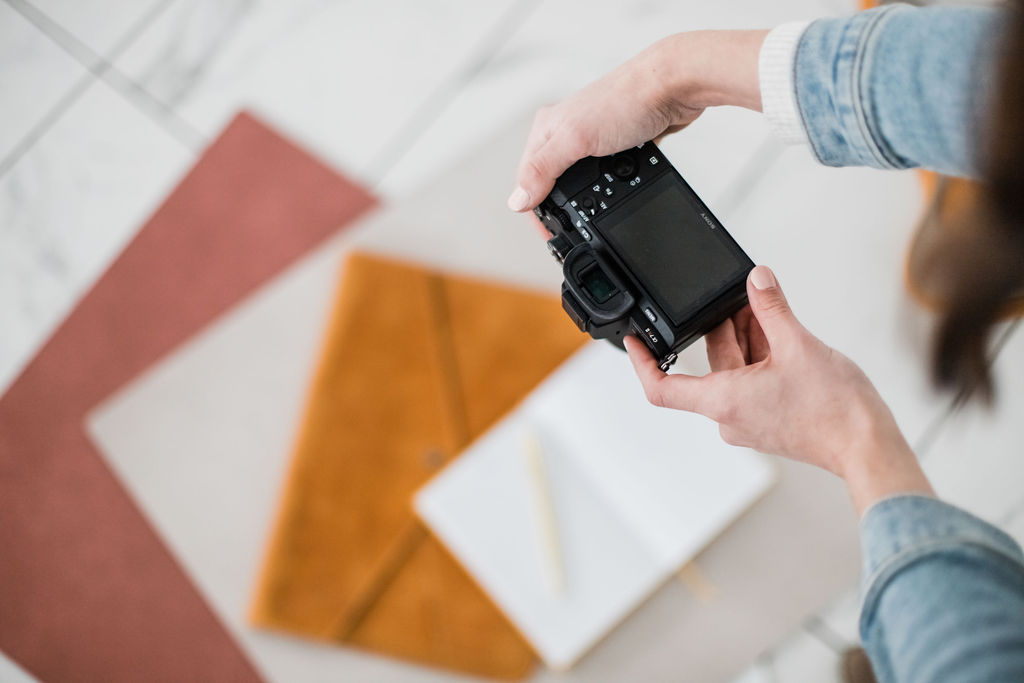
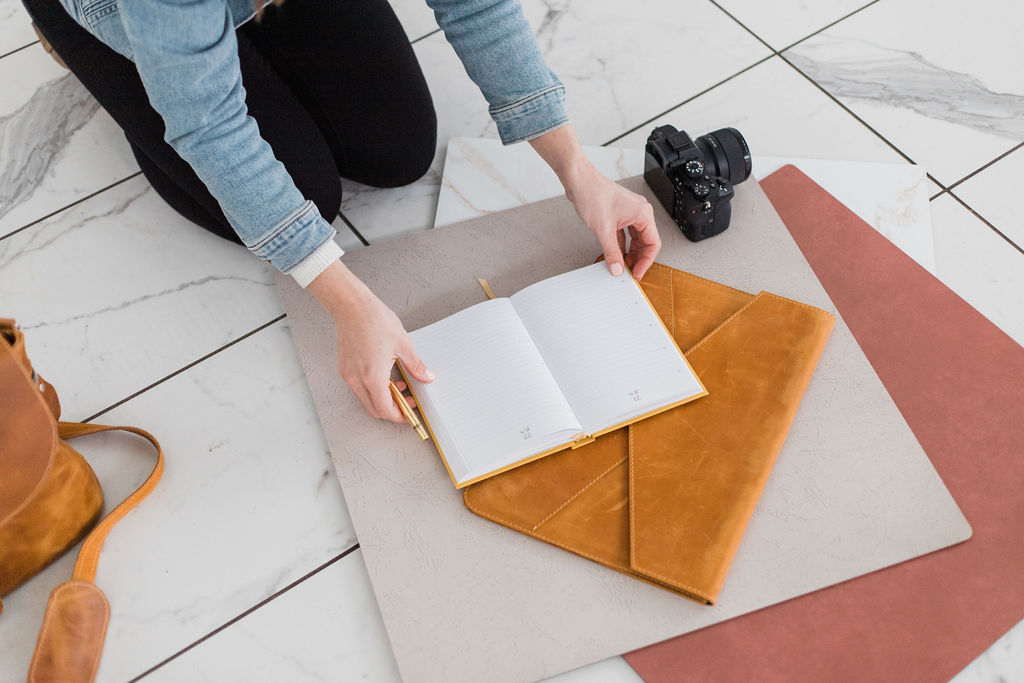
Sony a7R IV Mirrorless Camera: I’m absolutely in love with my Sony! I learned to shoot on Nikon, but when I took my photography business full time, I invested in a mirrorless camera. The face-tracking capabilities are absolutely incredible. It’s honestly super rare that I get an out-of-focus photo when I’m culling, which makes the whole process so much smoother. It also helps me deliver high-quality galleries since it’s virtually impossible for me to miss the shot.
Sony a7R II Mirrorless Camera: I invested in this backup camera when I started shooting weddings (just in case)! It’s still a fantastic camera, and it does everything I’d need it to on any given shoot. However, the face-tracking is not nearly as good as the more recent models, so it’s harder to get the shots I need as quickly as I can with my a7R iv.
Sony 24 – 70mm 2.8 lens: This is the first lens I invested in when I took my photography business full-time. I still pick it up occasionally when I’m shooting in smaller spaces and need the wider angle. It’s a really reliable and versatile lens to have in your bag.
Sony 50mm 1.8 lens: This is the first prime lens I invested in, and at $250, it’s a really affordable lens to have in your kit! It’s never been my go-to lens though – I’m just not a huge fan of 50mm in most circumstances!
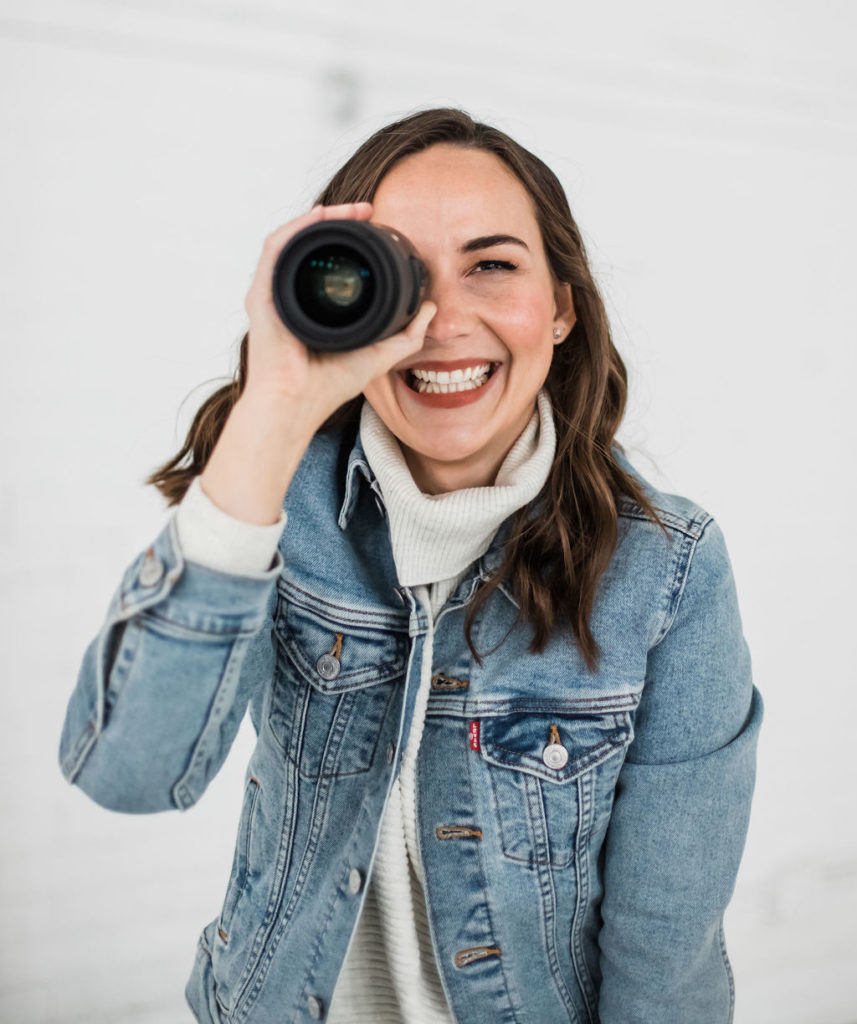
Sigma 35mm 1.4 lens: This is my absolute favorite lens, and honestly, it almost never comes off my camera! It’s also my widest aperture lens, which I love for shooting personal branding sessions. My photography style is also really well-suited to the 35mm look. I’ve heard some photographers say you “shouldn’t” shoot portraits with a 35mm, but I completely disagree. 90% of my portfolio was shot on this lens, so you can check it out for yourself here.
Sigma 135mm 1.8 lens: I picked this one up when I started shooting weddings, and I loved it for shooting ceremonies, speeches, and dances without having to stand in front of people or get in the way. However, if I’d known that I wouldn’t be shooting weddings long-term, I would have opted for the 85mm instead.
Lighting Equipment
Godox on-camera Flash: So this one’s interesting! I accidentally bought the Canon version, but it works completely fine with my Sony. When I tried to return it, Amazon refunded me without making me send it back. So instead of buying the Sony version, I kept this one! If you’re shooting Sony, I’d recommend you get the Sony compatible version, just in case!
Godox AD200 Off-camera Flash: Researching off-camera flashes was probably in the top 5 most stressful things I did in my first year of business. I really wanted to find a flash that could overpower the sun in case I had to use it outside, but I wanted one that was lightweight and portable enough to easily bring with me for onsite shoots. I’ve loved using this flash, and it’s so quick and easy to set up and use. It’s also really affordable compared to other similar flashes and strobes on the market.
Bowens Mount for Off Camera Flash: This mount allows me to easily attach my AD200 to my tripod, along with a softbox umbrella.
Off Camera Flash Controller: This wireless transmitter allows me to control my off-camera flash from my camera.
Large Parabolic Umbrella: If I’m shooting indoors and need to light a large area with soft lighting, I pop up this umbrella. I won’t lie – it’s obnoxiously large, but the soft lighting can’t be beat!
Large Light Umbrella Diffuser: This diffuser goes with my large parabolic umbrella.
Small Softbox Umbrella: This was the first softbox umbrella I bought, and it’s held up really well for the price point. This is my go-to for indoor product photography or flat lays.
Light Stand with Reflector Clamp: I have a few of these Neewer stands, but this one comes with a clamp that I use for my large light reflector. This is really helpful when I need to my reflector to stand in the middle of a room, for example.
Large Light Reflector: This light reflector is a game changer if you’re shooting in unidirectional light and need to fill in large shadows. It took me longer than I’d like to admit to learn how to fold this, so make sure you practice before you’re in front of a client!
Other Equipment
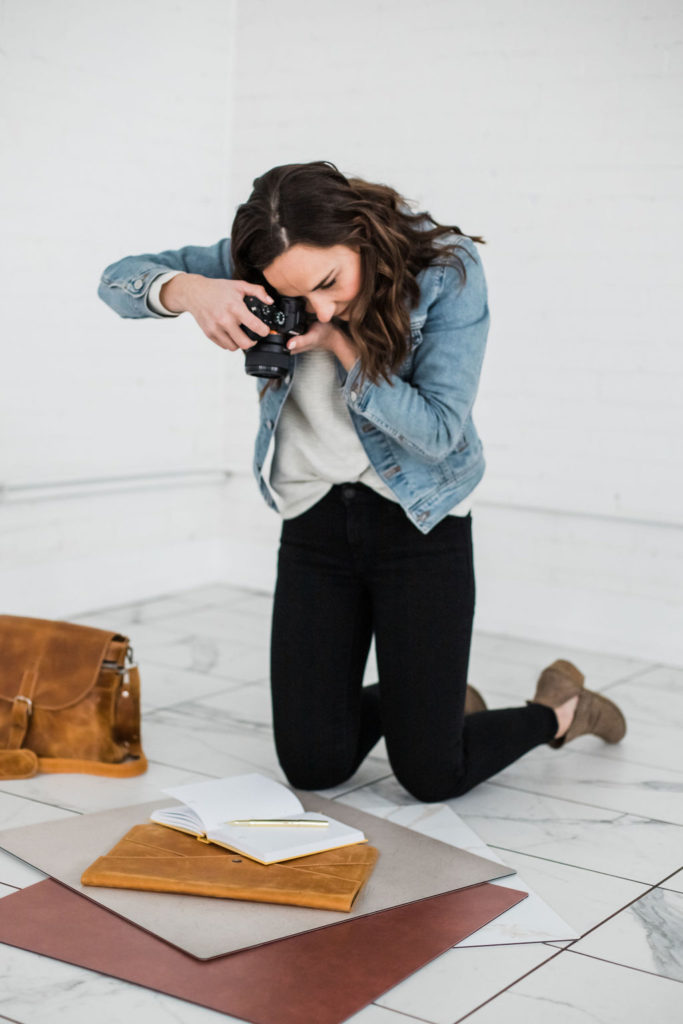
TriPod for Product Photography: This is a more expensive, but super versatile tripod I’ve used to shoot product photography that needed to be exact (photographing different sizes of the same product for example). It’s also really handy for any type of flat lay photography.
Wireless Shutter Release: This wireless shutter release was extremely easy to use right out of the box. Sony cameras come with a mobile app, but holding my phone in all of my photos was not ideal! Also, the app synced the RAW photos to my phone’s camera roll, which was annoying. I would highly recommend getting a small shutter release like this if you plan on taking your own brand photos or need a steady, hands-free shot.
Expo Disc: I use an expo disc to get my white balance right in camera, which saves me a ton of editing time on the backend. It’s absolutely essential if you want to shoot true to color brand photos in my opinion.
Replica Surfaces: I have several of these surfaces for product and food photography – they’re really easy to set up, use, and clean.
Replica Surfaces Carrying Case: This one was a bit of a splurge, but as someone who shoots on site most of the time, it makes my life a little easier!
128 GB Memory Cards: Since I’m shooting on a 61mp camera most of the time, I’m using 128GB memory cards for most of my branding sessions (I usually fill up two cards during a 2-hour branding session).
64 GB Memory Cards: I also have several 64GB cards in my bag, just in case.
Hard Drives: This was another purchase that stressed me out. I delegated this decision to my husband, who’s a software developer and tech junkie. 🙂 I’ve slowly accumulated 5 of these to backup photos, and I haven’t had a single problem so far.
Camera Wrist Strap: I use this strap for my backup camera so it takes up less space in my bag.
Kelly Moore Messenger Camera Strap: I use this strap for my primary camera so I can go hands free to style the details during branding sessions.
Kelly Moore Camera Bag – The Libby: I love the look and feel of this bag, and it’s the perfect size to fit everything I need for a full branding session, including my backup camera. Disclaimer though, I wasn’t able to fit everything I needed for weddings in this bag (since I’d bring all of my lenses).
Rose Anvil Lone Bandit Camera Harness: I love this harness, but I mostly used it for weddings. If I were to go back, I would have bought the double harness so I could shoot with two lenses at once on wedding days. For branding sessions, I have plenty of time to switch out lenses on my primary camera, and my camera strap works really well for hands-free moments.
Brand Photography Props: See, “The 10 Best Places to Shop for On-Brand Props.“
Remember: Less is More
When it comes to building your photography kit, I’m a fan of keeping it simple. You don’t need a ton of expensive equipment to get started, and it may take you a while to learn what types of lenses you’re going to need in your bag! Start small and slowly build your kit as your business and skillset grows.
I hope this blog post will help you make more informed decisions about your camera gear. What works for me may not work for you and that’s okay! I’d challenge you to thoughtfully consider what YOU want (or don’t want) in your bag!
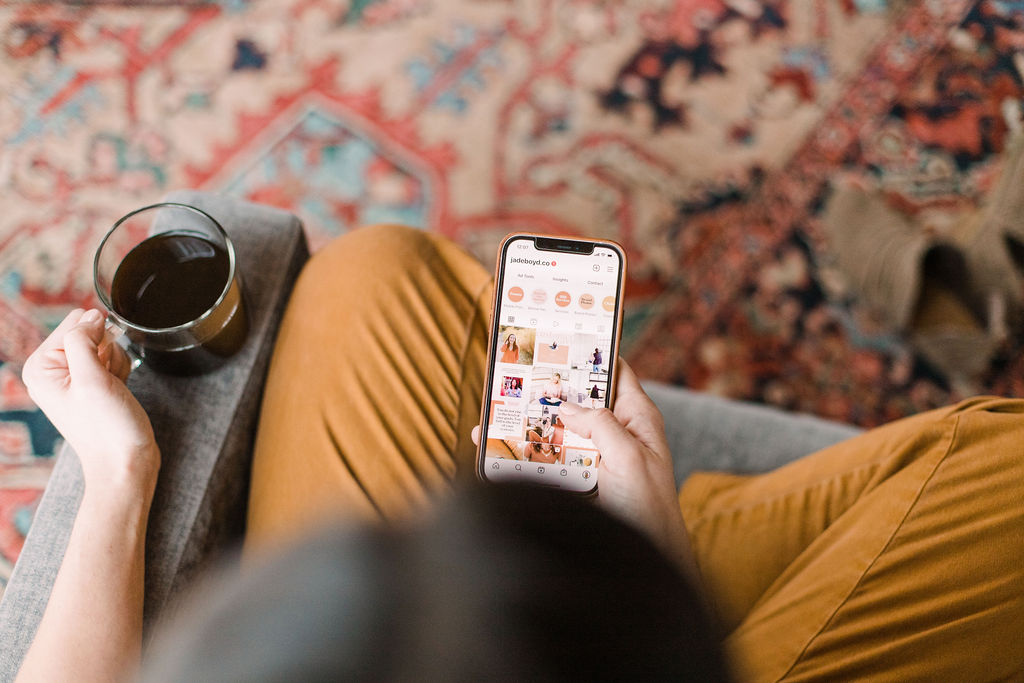
For more brand photography tips and resources, be sure to follow me on Instagram @jadeboyd.co.


